I decided writing ‘day’ in the title is somewhat midleading, as I miss days. But this also gives me the opportunity to post multiple times a day if needed. I’ll keep the number so I can see how I’m progressing.
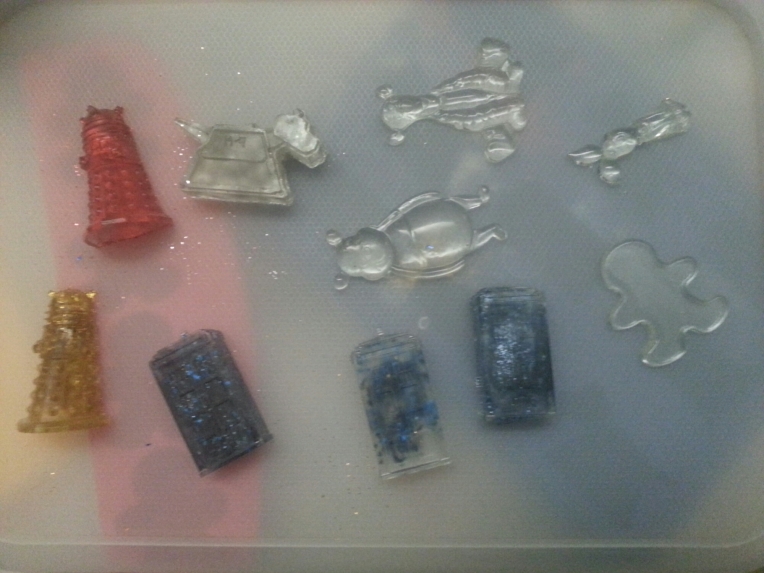
I unmasked the resin this morning, and they turned out rather well. My partner really liked the dr who ones. Not too many bubbles made it through, and they aren’t that noticeable. The glitter worked on a couple, but I blame the resin drying too quick for that. The red dalek looks quite good with just a layer on the back, but K-9 was too thick for it to show through properly. I would mix the glitter in the resin before pouring, but by the time I’d mixed all the colours, they would start to set before I get it in the moulds. I think painting on the clear ones will be successful, then coat with clear nail polish.
The Dr Who figures all stand up, so that’s useful. I think I’ll probably turn them into Christmas decorations.
winnie
Day #173
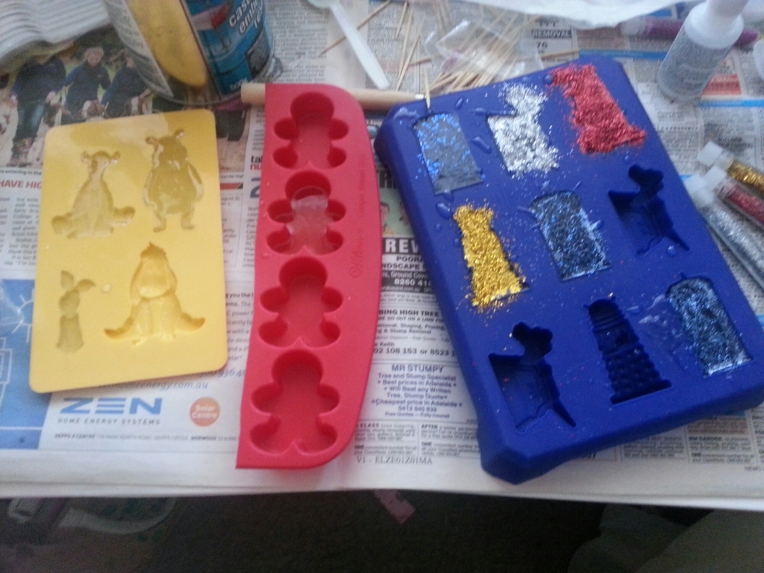
I’m back from the heat wave. I stopped functioning, and it wasn’t even very hot by summer standards. The other day I went to our favourite gaming/pop culture store, and while picking up a new game, I saw dr who ice trays. I’d been looking at buying these online, so when I saw it, I had to get one for using with resin. There’s a lot of places for bubbles to hide in them, so I had to chase them out with a toothpick. I made sure to measure and count the drops correctly, and it still began to set before I was ready. Halfway through mixing glitter into the poured resin, it got thick, so I just covered the ones I wanted with glitter to hope they cling onto it enough. I suppose I’ll find out tomorrow, even though they were probably set half hour after I poured them
With my last batch, I had to coat them with nail polish, to shine them up and get rid of some stickyness. It didn’t feel too sticky, but the pieces stuck together, so I think the nail polish will solve that.
I cast a couple of clear pieces, so I can try painting them.
Finally got around to washing the clothes from the op shop, so I’ll try them on, and see what needs doing soonish.
Day #161
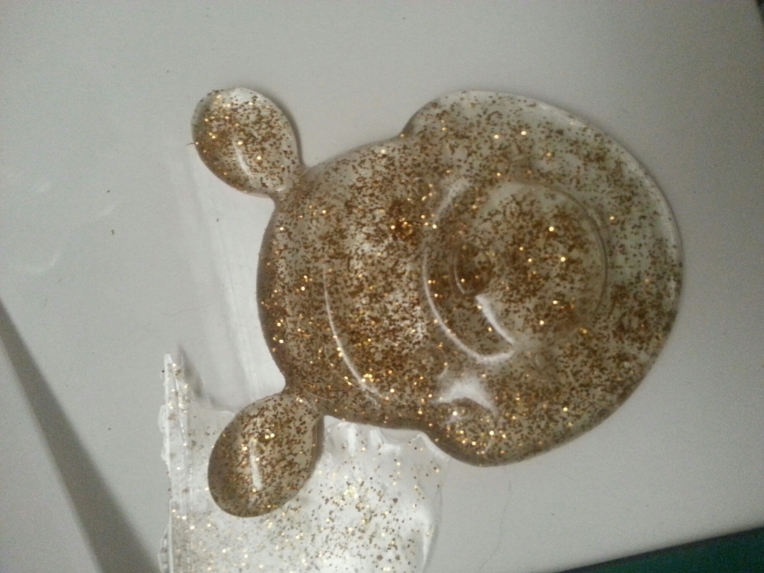
Popping out day! They cured, which is good. They look quite pretty. This is Winnie the Pooh with gold glitter. It worked well apart from his eyebrows had air pockets, so once I get some wet/dry sandpaper, I’ll sand them off and paint his features in black. I also cast a whole bunch of letters in an alphabet mould, but I had the same problem with the air pockets, so will try and fix that. I left some in so that I can try a second layer to fix a layer of glitter, but it’s hard waiting to find out the results. I’m glad the resin turned clear, as it was quite yellow when I mixed it.
Unfortunately, I had to keep my door shut as they were drying and my craft room smells of industrial machinery, so I need to air it out.
Fun times.
Day #144
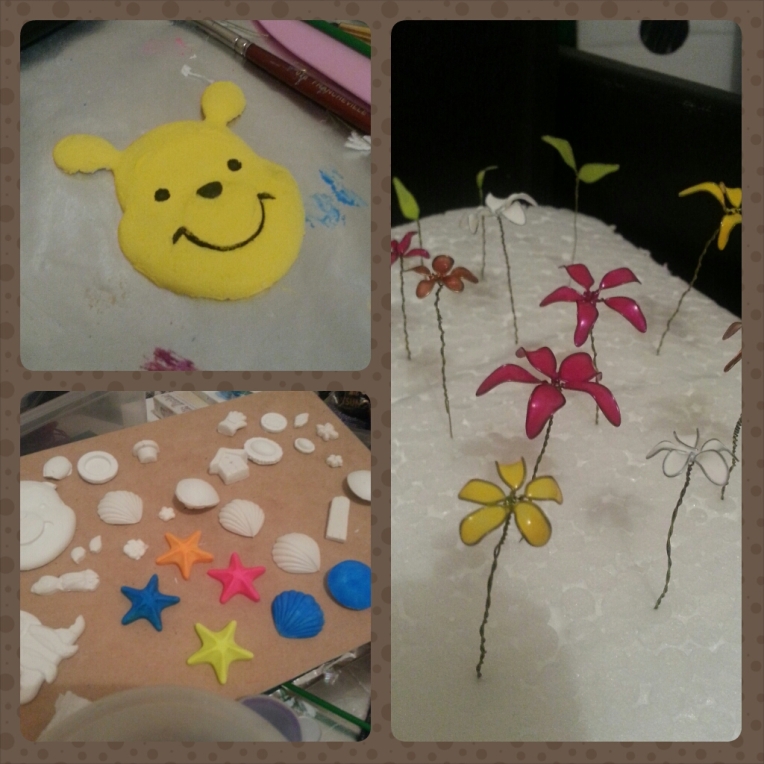
So, I’ve been growing some flowers, getting a Winnie the Pooh head in life and getting plaster of paris-ed.
So, Winnie was taken from a mould I have where you stuff toilet paper and water into the mould and it makes super lightweight, super cheap embellishments with no difficulty added. It does take a little while to do, but it doesn’t need your undivided attention… Might be why mine took a while :P. But what you do is get a roll of toilet paper, rip off squares, then rip them into pieces. Depending on the size and detail determines how big the pieces you need are. I used a spray bottle to spritz whenever the paper got too dry. The reason you use toilet paper for this, and you don’t need glue is that toilet paper is designed to dissolve into pieces in water, so the fibres interlock and dry into their new shape. I learnt this off a you tube video (I can’t remember which one, sorry.) But if you search there, you’ll find video instructions.
As for the flowers, I saw an idea making the nail polish flowers into a head-wreath. I’m not sure why, but the past load of these flowers I made got holes in the petals. Perhaps the polish was too old, or I didn’t let them dry properly before sticking then in a container and they poked each other. I’m thinking of putting another coat of polish once they are dried to make them stronger. I bought some floral tape, so that I don’t get stuck with all the wire in the head and hopefully it’ll keep it looking nice.
Lastly, I’m getting around to painting my plaster pieces. It took a few days to dry, due to being the middle of winter. You can tell they’re dry when they are about room temperature. Cold = moisture = not dry yet… Unless you have a really cold room.


